Garlic and Herb Bread

Homemade Garlic and Herb bread

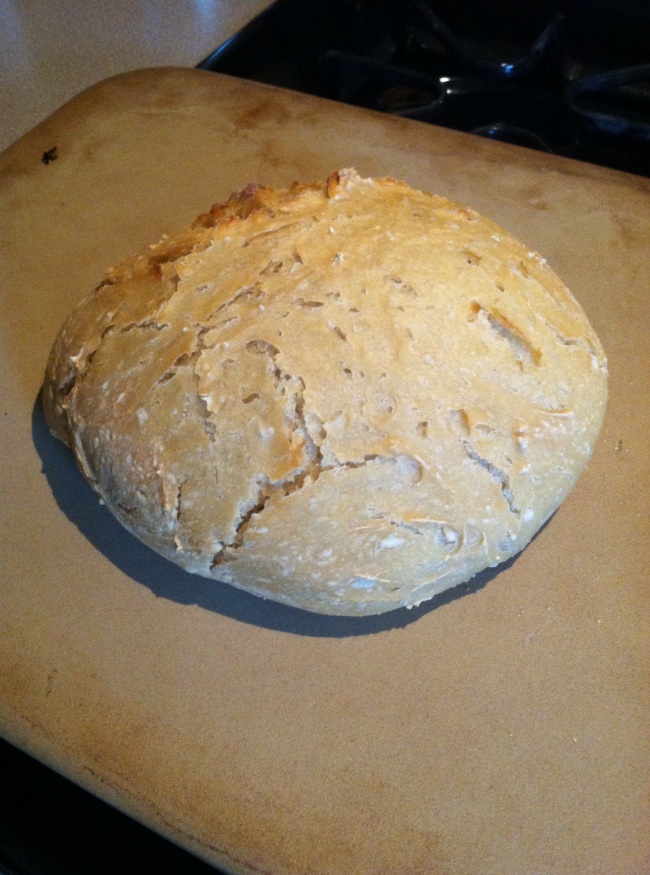
My homemade garlic and herb bread

Hi friends! I can’t wait to tell you about my garlic and herb bread recipe. I just made it today and man does the house smell good. It’s a perfect day for baking!

I used my no-knead bread recipe, however I had made the dough last week. After rising on the counter for 24 hours, I transferred it to an air tight plastic container and put it in the fridge. It’s always good to have bread dough on hand! I was also aiming for it to develop a sour dough taste, which it did! You can store bread dough (that’s already risen on the counter) for up to two weeks in the fridge. The longer it stays, the sour-er it gets! And it’s definitely a good sour.

So fast forward to today, I took the container out and let the dough come to room temperature. From here I took about half of the dough (the other half went to regular sour dough bread, which is currently in my crockpot), then mixed in:

1/2 cup flour
1 tbsp olive oil
1 tsp minced garlic
1/2 tsp onion powder
1/2 tsp oregano
1 tsp garlic salt
1/4 cup warm water

You could also add: basil, minced onion, rosemary, the possibilities are endless.

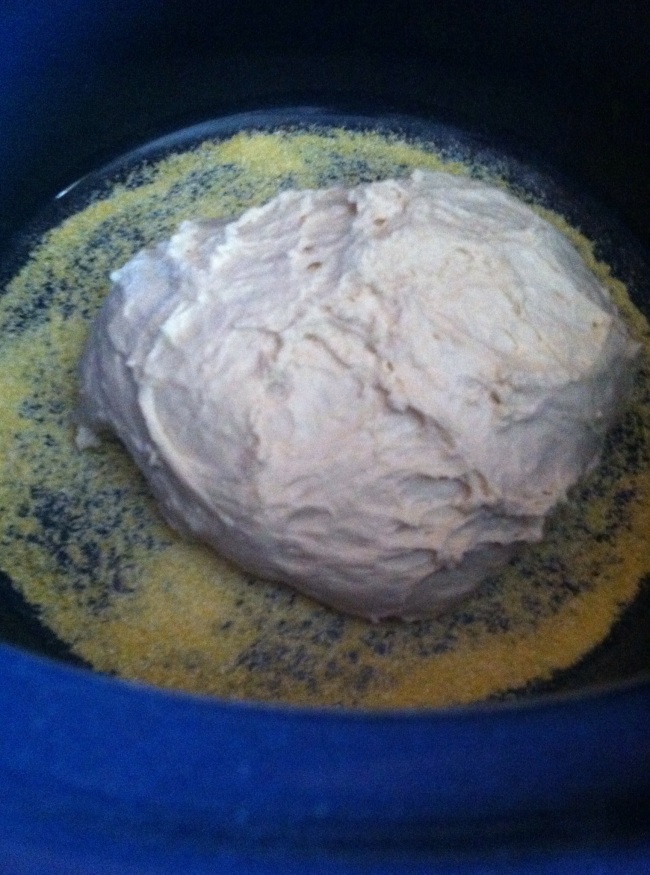
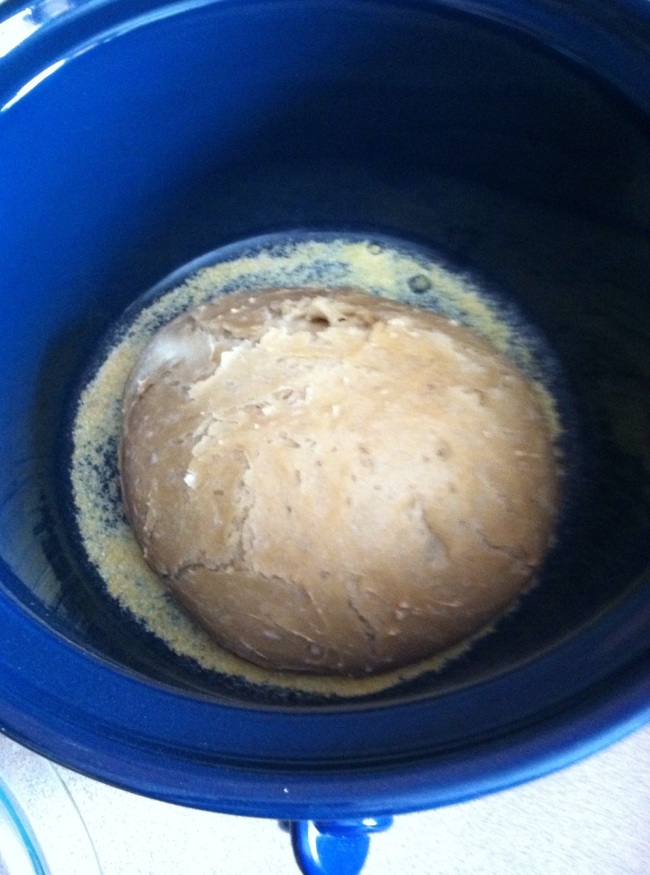
Mix this all up, knead for a few minutes to get all of the flavor incorporated. Then let rise for 30 mins. During this time, heat up your crockpot to High, or oven to 450. Form your dough into a ball with floured hands, and place in your cooking container. Bake for 2 hours, or until crust is a light golden brown. You can finish in the oven for 10-15 mins at 450 degrees if you want a slightly browner crust

I baked mine in the crockpot today simply because I wanted a softer bread. To do this, I sprinkle corn meal on the bottom of the crockpot so the dough doesn’t stick. Parchment paper will also work. It’s so tempting, but don’t open the lid during cooking. It will let out steam and heat, vital to the cooking process.

If you want to use your oven, preheat a casserole dish (with a lid) in the oven for 30 mins while the oven preheats and your dough rises. Then sprinkle corn meal or spread parchment paper on the bottom of the casserole dish, plop your bread in and bake for 45 minutes. Remove lid and bake an additional 15 mins.

I’m going to eat this with an olive oil and Parmesan bread dip. Happy baking!

The History Of What Things Cost In America: 1776 to Today

Very interesting read, especially for history lovers.

24/7 Wall St.

The cost of living in America has gone up about fifteen fold since the Declaration of Independence was signed in 1776. Of course, not all prices have risen at the same rate.
The value of coffee has increased fifteen times from its price 234 years ago. This is similar to the decrease in the value of the dollar, based on the purchasing power of a dollar and the consumer price index.

The value of land has risen a great deal in certain parts of the country – particularly those areas that were rural and now are parts of big cities. It was impossible to know 150 years ago that land in New York’s Central Park would be worth several thousand times what it was in 1776. Conversely, products like whale oil, once used to light homes, now have no legal value at all. Powdered wigs have almost certainly dropped in…

View original post 1,881 more words

Cinnamon Roll Bread

Along my quest for the perfect cinnamon bread, I found some were too complicated, some used ingredients I didn’t have, some weren’t what I was going for, so, like usual, I made up my own. I was wonderfully surprised when I pulled it out of the oven, as “a little of this a little of that” recipes can go bad sometimes. But as long as you’re okay with that, then I suggest following your heart in the kitchen and enjoying the wonderful surprise of discovering your concoction turned out better than expected.

I wanted a sweet bread, sturdy and uniform so I could slice and put in the toaster, a recipe that didn’t make 5 loaves at a time, and something with the little cinnamon swirl on the inside. To achieve this, there are two parts: the dough, and the filling. The dough took about 10 minutes to make, and then it took about 20 mins to make the filling, roll it up and pop it in the oven. This is what I did:

Image

Cinnamon Roll Bread

  • 2 cups white flour
  • 1/2 cup wheat flour (optional, you can just use 2 1/2 cups white flour)
  • 1/2 tsp cinnamon
  • 1/4 tsp salt
  • 1 tsp vanilla
  • 3 tbsp white sugar
  • YEAST: I let my dough rise over night, so I used 1/2 teaspoon of yeast. If you want your bread the same day, use 2 teaspoons and let rise for at least 1 hour
  • 1 cup warm water
  1. Mix dry ingredients and slowly add water. Stir your dough, you may have to add more water but you do not want an excess of water in the dough because then it will be hard to roll out and work with. Mix with your hands for a few minutes to work the yeast, and then cover and let rise in a warm place.

This bread can rise for up to 24 hours, it will develop a sour taste during this time which is not a bad thing. I let mine rise for about 26 hours and the sour dough taste actually worked well with the cinnamon. Remember the more yeast, the less rise time. Two teaspoons of yeast will rise the dough in about an hour, 1/2 teaspoon will take at least 12 hours to rise.

Filling: make this right before you’re ready to bake your bread

  • 1 egg white
  • 1 1/4 cup packed brown sugar
  • 1 tbsp cinnamon
  1. Reserve about 2 tsps of egg white into a small bowl
  2. Mix the rest of the egg white with the other ingredients in a bowl. It should be goopy and sticky.

Okay now you’re ready to assemble!

  1. Preheat your oven to 400 degrees
  2. Grease a 9×5 loaf pan
  3. On a greased or floured surface (I use my cutting board), roll out your dough to about 1/2 inch thick. It should be in a rectangle shape at least about 9-10 inches in width.
  4. Spread your goopy mixture onto the dough. Use all of it! Spread it evenly.
  5. Now it’s time to roll your bread up. This is the hard part so take it slow. Roll your bread longways, so its the 9-10 inches in length and will fit in your loaf pan. If you’re careful, most of the filling will stay in the roll. My first time this was not the case, it takes practice so don’t worry if some filling comes out. It will be extra-specially gooey with some filling at the bottom, don’t fret.
  6. Once it’s all rolled up, plop it in the loaf pan.
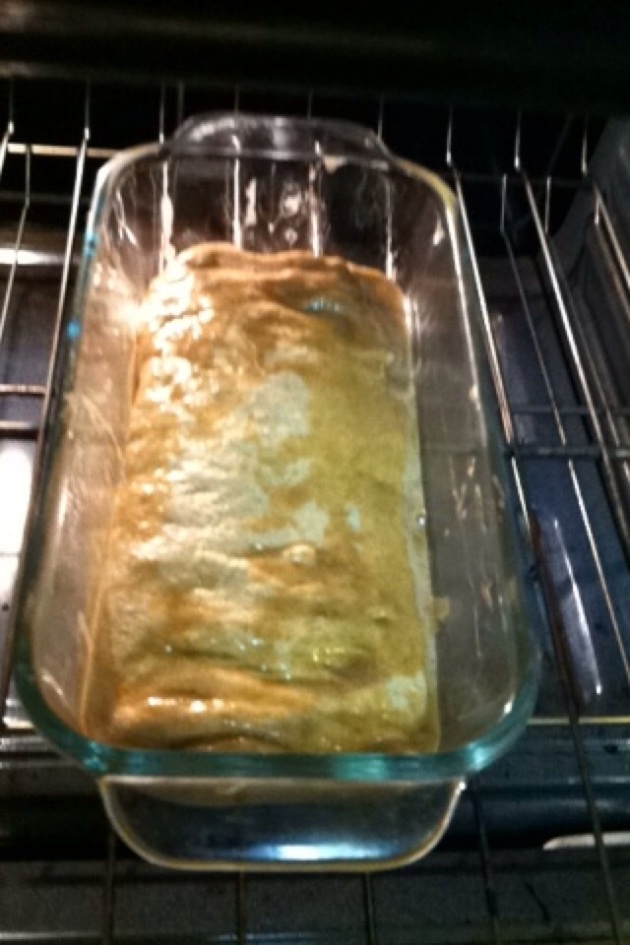
  7. Brush your reserved egg white over the top to give your bread a little bit of shine.
  8. Bake for 45 minutes or until golden brown.Image

Let it cool for a little and then plop it onto a cutting board, remembering bread is better when you let it cool for a while, and then cut into it when you can’t wait any longer.

Image

This bread is awesome because its so versatile. You can eat it plain, toast it with butter, toast it with cream cheese, use it to make french toast. It reminds me of a less crunchy, more gooey version of Panera’s cinnamon crunch bagel. Enjoy and let me know your favorite way to eat it!

Image


Crockpot Bread

Image

I want to share my crockpot bread recipe with y’all! This is wonderful because no one wants to be in a hot kitchen all day when it’s hot outside. I do put mine in the oven for 15 minutes at the end but that’s just to brown and crisp the crust! It’s not necessary.

Depending on how much time I have, I use my Quick French Bread recipe or my no knead bread recipe to make the dough. The first one takes about an hour to make the dough, the second one takes 18-24 hours. Of course most of this time is so the bread can rise. Remember the longer your bread takes to rise, the better it will taste! Choose a recipe based on how soon you want to be eating your bread 🙂

  1. Sprinkle corn meal on the bottom of your crockpot OR lay a sheet of parchment paper on the bottom of the crockpot. Both of these will prevent the bread from sticking as it cooks. I prefer cornmeal because it adds a very nice texture to the bottom of the crust, but to each his own
  2. Turn your crockpot on High
  3. Form your dough into a ball. I usually do this by squeezing it in half a few times, getting all the air bubbles out, and eventually putting the crease on the bottom when I plop it into the crockpotImage
  4. Put the lid on.
  5. Wait an hour. Use this time to make something delicious to eat your bread with or go tan outside or take a nap
  6. Check the bread. It won’t be done, but you’ll be able to see how much longer it needs. Mine has taken anywhere from 1 1/2-2 hours total. The bread will be done when you push on the top and it doesn’t spring back.Image
  7. Preheat your oven to 425 and pop the bread in. No pan is needed, but you can use one if you like. Bake for 15 minutes or until crust is golden brown.

Enjoy! Instagram your creation! Be proud of yourself! Remember, wait as long as you can to cut into your bread. Cutting into it while it’s still pretty hot can cause the inside to be a little gummy. The steam inside continues the cooking process for a while after it’s out of the oven/crockpot. For best results, wait at least 45 minutes 🙂

Image

Baby pool hack!

My little brother is 10 months old. He’s an excellent sitter, an almost crawler and isn’t anywhere near walking. We were playing outside tonight and it was hot! We didn’t have a baby pool on hand so I got the bright idea of filling up a plastic sled with water and some baby toys, putting a Swimmie on Kreu and plopping him in the sled! There was only about 2-3 inches of water in it, just enough to cover his legs. He loved splashing in the water. It was a great beginner’s introduction to playing in a pool. I sat by him the whole time. He scooted around a bit and splashed and had himself a great time. It was just the perfect size for him where I wasn’t worried about him falling over into the water or taking a while to fill it up. We will definitely do it again 🙂

Image

Ramen noodle stir fry

I’ve made this recipe since high school, pretty basic but it really adds a lot of flavor to your regular ramen. Great, easy meal for college kids or beginner cooks: you just need a stove and a skillet! Note this recipe will feed two people, but it also reheats well, so it’s a perfect 2 in 1, make it for dinner and also eat it for lunch the next day meal.

Ramen noodle stir fry with chicken and peppers

Ramen noodle stir fry with chicken and peppers

Ramen Noodle Stir Fry

  • 1 packet Chicken flavored Ramen noodles
  • 2 chicken breasts
  • 1 red bell pepper
  • 1/4 onion
  • 1 tbsp soy sauce
  • 1/4 tsp red pepper flakes
  • 1 tbsp vegetable oil
  • Other optional vegetable choices: zucchini, brocolli, carrots, baby corn
  1. Heat up a skillet on medium heat
  2. Cut your veggies and chicken into bite size pieces
  3. Add oil to skillet and saute your veggies and chicken
  4. While those are cooking, break up your ramen and add to a microwavable bowl filled with water. Microwave for 2 minutes, stir, and microwave for another two minutes. You’ll need about 1/3 cup of water left in the noodles, so drain some water or add some to the bowl depending on how much the noodles soaked up.
  5. Add the soy sauce, pepper flakes and the seasoning packet to the bowl. As soon as the chicken and veggies are cooked through, add the contents of the bowl to the skillet.
  6. Stir well, reduce heat and cook about 5 more minutes or until the noodles have soaked up all the water

Enjoy!

Cherry Amaretto Jello Shots

I celebrated my birthday this weekend, so of course I had to have one of my favorite drinks–a jello shot! I started making these a few years ago, they have a lot more flavor than your average jello and vodka recipe. I’ve made these for parties with my friends, for Christmas with my family and for little get-togethers. These are mellow enough for older people to enjoy without it burning their throats. If I want something stronger, I add vodka to the recipe and voila, get drunk stay drunk.

Jello Shots I made for our family Christmas

Jello Shots I made for our family Christmas

One more thing, maraschino cherries are fabulous with these! They’re completely optional but do add a fancy touch.

Maraschino Cherries

These should be made in advance.

  • 1 small jar maraschino cherries
  • 1 1/2 cups vodka

1. Pour cherries with 1/2 of the juice into a bowl.

2. Add the vodka, stir, cover and refrigerate for 24 hours. Stir a few times.

3. Drop into jello shots right after your pour the jello in. I usually do one cherry for a 2 ounce shot, 2 for anything more


Cherry Amaretto Jello Shots

  • 3 ounce package of Cherry Jell-o
  • 1 cup water
  • 3/4 cup amaretto
  • 1/4 cup cold water or cold vodka if you like a stronger shot
Making cherry amaretto jello shots

Making cherry amaretto jello shots

  1. Boil 1 cup of water in a small saucepan
  2. Add jello, remove pan from heat and stir until dissolved
  3. Add amaretto and cold liquid and stir well
  4. Pour into your shot cups! Add your cherries and chill for two hours or until firm

The last time I made these I couldn’t find any 2 ounce cups so I used bigger cocktail cups. You can find the 2 ounce cups with lids at Walmart near the plastic cups. Gordon Food Service also has them.

Amaretto Jello Shots

Amaretto Jello Shots


Homemade applesauce

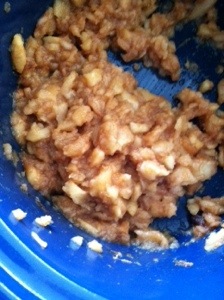
Slow cooking is ten millions times better than anything you could buy pre-made. And thankfully this mantra includes applesauce. If you’ve never tried homemade applesauce, prepare to be amazed. It’s wonderful hot, cold, with oatmeal, or even to use as your apples in apple crisp. So whether you already love the taste, are looking for something cheaper, healthier or just plain better than store bought applesauce, get out your crockpot and get ready.

Homemade Applesauce
3 pounds apples
1 cup brown sugar
2 tbsp cinnamon
1 cup water or apple juice or apple cider

1. Wash, peel, core and dice your apples. Bigger chunks are okay, they might just take longer to cook.
2. Grease or butter your crockpot.
3. Add all your ingredients, stir well and cook on low for 7 hours or high for 3 hours, stirring every hour or so.

When everything is done you can much it all together if you like your applesauce really smooth, or keep it chunky.

The cinnamon is optional, so is the sugar. But I like mine sweet so I add sugar.

It will be a light-dark brown, almost the color of applebutter. Don’t be surprised, it tastes good and that’s just the natural process of the sugars cooking.

20140501-173216.jpg

Creamy Baked Mac and Cheese

I know I posted a recipe for homemade baked mac and cheese last week, but this one is a more creamier version and less of a casserole than the other one, as it doesn’t have any egg to bind it together. It’s just as delicious and hits the spot anytime you’re craving something cheesy, gooey and delicious.

Image

Creamy baked mac and cheese with penne pasta and mozzarella


Creamy Mac and Cheese

  • 1 box of pasta, you can use macaroni, penne, radiatore, whatever your preference is
  • 2 cups milk
  • 2 cups cheese, cheddar or mozzarella
  • 1/2 tsp ground mustard powder or 1 tsp yellow mustard
  • 1/3 cup butter
  • Salt, pepper, Nature’s seasoning
  1. Cook your pasta in salted water, drain
  2. Preheat oven to 400 degrees and grease a casserole dish or pan
  3. Add butter and cheese to dish, then the pasta and seasonings. Stir very well.
  4. Pour milk over pasta and stir again.
  5. Sprinkle with more cheese if you’d like
  6. Bake for 20 mins with the lid on, and 10 minutes with the lid off. The lid is actually optional but I like to use it so my pasta doesn’t burn
  7. Serve hot! Also keeps well in the fridge for a few days


Crockpot Spaghetti Bake

This is a great recipe for when you don’t have a lot of time to make dinner! The end result is hearty and much better than your normal “heat the sauce up in a pan, boil your spaghetti and put it all together on a plate” spaghetti dinner.

Image

One pot spaghetti bake

Using my crockpot marinara sauce recipe (with or without meat), add 1 box of spaghetti, uncooked, and stir. The spaghetti cooks right in with the pasta sauce for a yummy pasta that isn’t too salty or sticky or bland. Stir every 30 minutes for about 1.5-2 hours and you’re all set! We serve this with salad and some garlic bread.