I began my bread baking hobby last summer, when I wrote “learn to bake” on my summer bucketlist. I began with no knead bread, then tried crockpot no knead bread, then kneading bread, then making sourdough and sourdough starters, French bread, rye bread, wheat bread. It was fun and exciting, nerve wracking at times, but always very rewarding. I learned a lot along the way, as I started out knowing absolutely nothing about bread except that I liked to eat it.
Five things you should know
1. Bread baking involves yeast. Yeast is a very much alive bacteria that feeds off of sugars and emits gas which produces bubbles which make your bread lighter and fluffier. You can kill your yeast with hot water. It thrives in warm places, which you can create with the help of warm water. It feeds off of sugar. Salt, or the abscence of sugar can stunt or stop your yeast’s growth. You can buy yeast in packets, jars or in big blocks. I buy mine in jars. However you buy it, store it in a fridge.
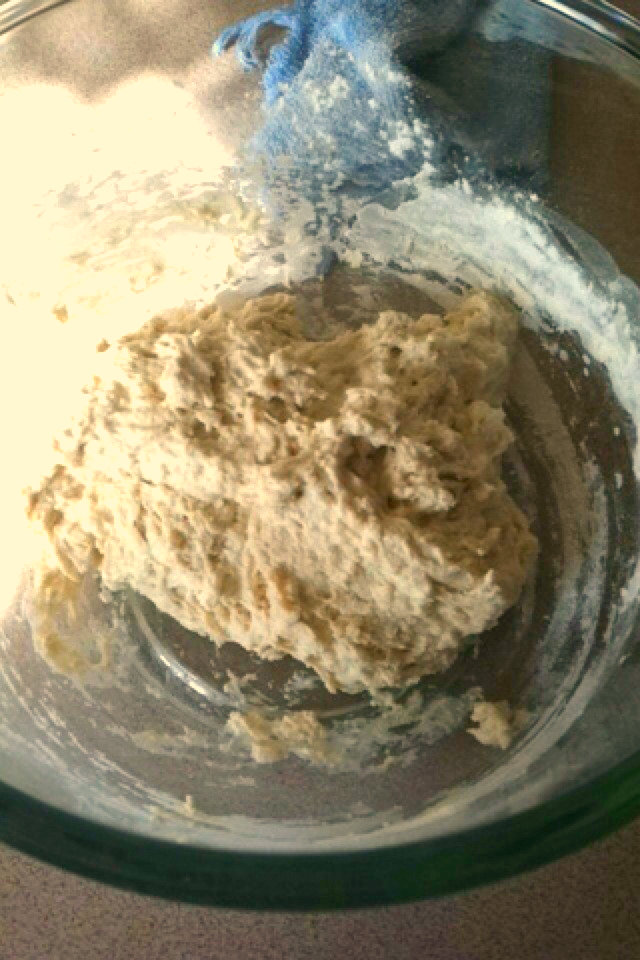
2. Kneading. Do not be afraid or weary about kneading. Kneading helps incorporate the yeast into your bread and helps make it grow stronger, like when humans lift weights. Push the dough down, stretch it out, twist it, squish it, pull it, mash it, twist it again. How long you have to knead depends on the type of bread you’re making and how much dough you have. Less dough, less knead time. When you’re done kneading, the dough should be stretchy, elastic, somewhat smooth, and if you cut it in half there should be bubbles in the dough. There are also bread recipes that do not require kneading and still produce a wonderful bread, here’s my recipe for it.
3. The longer your bread rises, the better it will taste. Think of it as a fast aging wine. The amount of yeast you use directly affects the rise time: more yeast will lead to a faster rise; this is more convenient than longer rising dough but doesn’t taste as good. It won’t taste bad, it will still be edible and wonderful. The less yeast you use, the longer the rise time, the better the bread. Less is truly more.
For example, 2-3 teaspoons of yeast can make 3 cups of flour rise in less than 45 minutes. One quarter or 1/2 of a teaspoon can make 3 cups of flour rise in in 18 hours.
Let your bread rise even longer and it will begin to develop a sour taste. Not a bad sour, a good sour.

Bread dough rising
4. Steam helps the crust become light and crunchy. There are a few ways you can achieve this: baking in a covered dish, or you can put a pot of boiling water in the oven with the dough. You can bake bread open on a pan without any of the fancy steam stuff, but I find the crust to be too crunchy. My favorite method is baking a glass casserole dish.
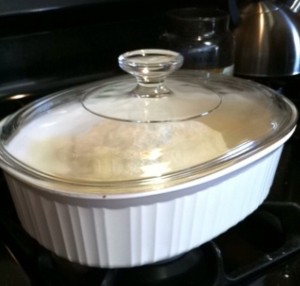
The glass casserole dish I bake my bread in. It traps the steam inside and creates a nice crunchy crust
5. Bread will stick to the pan you bake it in, sometimes even if you grease it. You can prevent this three ways: one, heavily flour the bread before you put it in the pan. Two, lay a sheet of parchment paper on the pan and plop the dough on it. Three, sprinkle a layer of cornmeal on the bottom of the pan before you plop the dough on it. I prefer parchment paper, but cornmeal is a close second. It adds a nice texture to the bottom of the crust.
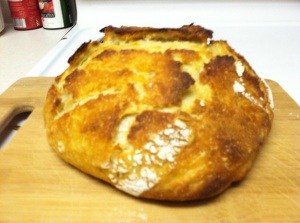
Bread baked in a casserole dish
Another piece of advice is to just have fun! Don’t get stressed about bread baking. Practice makes perfect and believe me I’ve thrown out more than a few loaves of bread that didn’t turn out right. You’ll be proud of the end result and it will all be worth it.